Price: $58.45


Know what kind of tomato plant you're sowing—determinate tomatoes need less space than indeterminate varieties. Determinate tomato varieties do better in containers or raised beds because they do not need as much space. Proper spacing of tomato plants protects from potential diseases and set plants up to fruit more. Whether you start your tomatoes from seed or buy tomato seedlings, keep in mind while you plant them that proper spacing is essential for successful growing. As a rule of thumb, allow 2 to 3 feet of space in all directions for each plant, though the exact spacing depends on what type of tomato you're planting.1 Read on to learn about properly spacing determinate vs. indeterminate tomatoes, the pitfalls of insufficient spacing, and other tomato growing tips. Spacing Determinate vs. Indeterminate Tomatoes Before planting, check the seed package or the plant label, which should tell you if the tomato variety is determinate or indeterminate. Both tomato types are vines, but determinate tomatoes require less space than indeterminate tomatoes so the exact spacing depends on what type of tomato you are planting. Tomato spacing is usually given in two measurements: space between plants and space between rows. Determinate Tomatoes Determinate tomatoes grow only to a certain height, then flower, set fruit, and ripen within a short timeframe. They can be planted as little as one to two feet apart (though ideally in the 18-14 inches range) in rows 3 to 4 feet apart. The plants are often compact enough that they don’t require support. Because of their limited growth, they also don’t need pruning. Indeterminate Tomatoes Indeterminate tomatoes are the exact opposite—they have a long growing season that only ends with the first fall frost. They need a much more generous spacing than determinate tomatoes and should be spaced at least three to four feet apart in rows at least four feet apart. Indeterminate tomatoes should always be staked, trellised, or caged. Pruning the plants is also essential to keep the vigorous growth under control. Why It's Important to Space Tomatoes Properly Proper spacing between plants is important to keep tomato plants healthy. Even with the best care, these plants are prone to numerous diseases including fungal diseases (like early blight and late blight) and viruses (like tomato mosaic virus). Plants growing in crowded conditions with poor air circulation are an ideal breeding ground for fungal diseases to spread. Generous spacing between tomato plants is also important to give you easy access for pruning, weeding, and harvesting without the risk of damaging neighboring plants. Signs Tomatoes Are Planted Too Close Together Unfortunately, not giving your tomato plants sufficient space will backfire sooner or later in the growing season. You'll know that you skimped on spaced if these symptoms are true of your plants. Poor harvest. The plants are growing slowly or producing a poor harvest because they are competing for nutrients and water. No visual borders. You cannot tell where one plant ends, and the next one starts because the vines have become entangled. Soggy foliage. The foliage remains wet for hours after rainfall even in warm summer weather because there is inadequate airflow. Difficulty harvesting. Harvesting the tomatoes is tedious because you cannot easily access the plants from all sides. Additional Tomato Growing Tips To make your tomato season a success, here are some other key tips for growing delicious tomatoes: Plant them in full sun where they get at least six to eight hours daily. Get the soil ready for planting with soil amendments and compost. Also, check if the pH is on target (between 6.2 and 6.8).2 Tomatoes: From Seedlings to Fruit. Penn State Extension. Fertilize them every two weeks during the growing season. Make sure to water the plants deeply and regularly at the base. Harvest them at the right time. Not all tomatoes are red when they are ripe so know the checklist of signs to look for.

Keeping your Christmas tree fresh means maintaining the tree’s needles, fragrance, and vibrant color. But besides watering your Christmas tree, what can you do to ensure your tree boasts holiday splendor and that classic Christmas tree aroma—saving you from taking your tree down too soon? To find out more about how to care for your tree, we chatted with Christmas tree experts and arborists. Here, they share their tips for keeping your Christmas tree fresh all season long. How Long Does a Real Christmas Tree Usually Last? A real Christmas tree can last between four to six weeks with proper care although there are things you can do at home to extend your tree’s life. However, according to Rocco Malanga, the owner of Cedar Grove Christmas Trees, this number depends on how it’s maintained at home and how it was harvested and handled by the retailer. Hence, some of our experts’ tips include how to treat the tree when you first get it from the tree lot. Want more gardening tips? Sign up for our free gardening newsletter for our best-growing tips, troubleshooting hacks, and more! Start With a Fresh Cut Even before inserting your tree into a Christmas tree stand, there’s a crucial first step to making sure your tree stays hydrated. Ask an attendant at the tree lot to trim the tree by making a cut at least an inch off the bottom of the trunk to allow better water absorption, Malanga says. This will help your tree take in more water effectively. Use a Pet-Safe Preservative Adding a preservative to your tree stand’s water reserve can help keep your Christmas tree hydrated. But many of these have bleach in them, so they aren’t safe for pets who might try drinking from the tree stand. Many tree lots offer pet-safe preservatives that can be added to the water for enhanced hydration and needle retention, Malanga says. Ask the person selling you your Christmas tree if they have pet-safe preservatives that you can add to water when you feed your tree. Hydrate Your Tree Water the Christmas tree daily. Check the water level each morning to make sure the tree has enough water, and if it doesn’t, add more water to the tree stand. Depending on the Christmas tree variety, a full-size evergreen tree will take more water to stay hydrated than you might expect. For example, a 6-foot-tall evergreen will need about a gallon of water each day. Besides adding water to the tree stand, you can also spray the tree’s needles. Use a simple spray bottle to mist water on your tree’s branches once a day to prevent them from becoming brittle. Place Your Tree Away From Hot Fireplaces and Heating Vents Because Christmas trees can dry out, you don’t want to place them near a heat source like a fireplace or heating vent. According to Scott Seargeant, an international arborist and landscape contractor at Seargeant Landscape and Arboriculture, you should always test a room for unexpected heat sources before placing your tree in it. “Have a thermometer or a temperature app on your smartphone and take temperature readings in several locations within the room,” he suggests. Make sure the room is at the typical temperature you normally keep it set to when running your tests. But if every room in your home runs warm, place the tree as close as you can near a window. That way, you can periodically open the window to cool down the tree if needed. Keep Your Heating System Turned Down or Off at Night One way to avoid drying out your tree is to make sure your heating system is set low or turned off. At night, set your thermostat to 68 degrees to keep the home at a comfortable temperature in the evening when everyone’s tucked in bed. You’ll also want to turn the thermostat off when no one’s home. “Newer house thermostats are programmable from your smartphone,” Seargeant explains. "If you are at work or out and about, you can adjust the thermostat lower when everyone has left the house after you.” Choose a Room With Vaulted Ceilings Another way to keep your tree from drying out is to place it in a room with vaulted ceilings. This is because living rooms with vaulted ceilings are far better than those with lower ceilings to keep heat at bay. “Heat rises and a vaulted ceiling will keep the heat farther away from the tree than typical lower ceilings,” Seargeant says.

A member of the beet family, Swiss chard (Beta vulgaris) is one of the easiest leafy greens to grow because it will thrive in just about any soil type and all but the most extreme temperatures. The leaves and colorful stems are edible and can be eaten raw, steamed, or stir-fried. Learn how to grow Swiss chard in your garden. How to Plant Swiss Chard Swiss chard is a fast-growing vegetable that is ready to harvest in around 40 days. Seeds can be directly sown into the garden about 1/2 inch deep and two inches apart in early spring or late summer. If you start seedlings indoors, plant them after the predicted last frost about four inches apart, taking care to minimize root disturbance. The best planting site for Swiss chard receives full sun and has nutrient-rich, well-draining soil with plenty of organic matter. Swiss Chard Care Light Swiss chard needs full sun to partial shade with 6-8 hours of full sun producing the largest, healthiest plants. If you live in a hot climate, some shade from the strong afternoon sun is beneficial to prevent leaf wilt. Soil For the largest and healthiest plants, Swiss chard prefers soil with a high organic content, a neutral pH (6.0-8.0), and good drainage but still moist. Water Like most leafy greens, Swiss chard needs a consistent amount of water to stay healthy—about one to two inches of water per week depending on your climate and rainfall. Mulching around your plants and between the rows can help retain moisture. Temperature and Humidity The plants grow fastest in the cool temperatures of spring and fall, although they continue to produce leaves throughout the summer. Swiss chard is a sturdy plant that can tolerate some heat, humidity, and drought, but will not flourish without adequate moisture. Fertilizer If the garden soil is not nutrient-rich, apply a complete garden fertilizer such as 10-10-10 mixing it into the top three inches of soil before planting. Pollination Swiss chard produces tiny flowers that use wind and insects as pollinators. Pollination is not a concern since this is an annual crop. How to Grow Swiss Chard From Seed Swiss chard can be direct sown in the garden or started indoors and transplanted into the garden. You can sow directly in the garden when the soil temperature is at least 45°F. Start plants indoors in a seed-starting mix about two to three weeks before your last expected frost date. The seeds will germinate in five to seven days. Fill a seeding tray with seed staring mix. Sprinkle the seeds over the moistened mix and cover seeds with about 1/2 inch of soil. Keep the tray moist and in bright, indirect light. Transplant your seedlings from indoors after the danger of frost has passed. How to Grow Swiss Chard in Pots A Swiss chard plant will grow well in a container that holds at least two quarts of soil and is at least eight inches deep. Be sure the pot has good drainage holes and fill it with potting soil. Add your Swiss chard seedling and water deeply. Place the container where it will receive at least six hours of direct sunlight daily. Water often to keep the soil moist. Swiss Chard Varieties 'Bright Lights': A mixed variety, these stems are red, white, orange, pink, violet, and yellow mixed. It matures in 40 days. 'Northern Lights': Brightly colored stalks and midribs in shades of red, pink, yellow, and white. Matures in 42 days. 'Ruby': Ruby-red stems, reddish-green leaves, red veins that mature in 45 days. 'Lucullus": Just 40 days to maturity with dark green leaves and white stalks. Harvesting Swiss Chard The tastiest Swiss chard leaves are young and tender. You can start harvesting at any time for smaller leaves that can be eaten raw in salads. Or, wait until the leaves are around 12 inches long with a sturdier stem for cooking. Remove the largest outer leaves first with a sharp knife or garden shears. Continue harvesting single leaves to encourage new leaves to grow. You can eat both the leaves and the stems. Mature leaves are chopped and cooked in sautés, soups, or stews. Stop harvesting when the plant bolts and goes to flower. The leaves will then be tough and bitter. If you can't eat or share all of the leaves, just add them to your compost pile. Pruning Swiss chard does not require pruning other than removing mature outer leaves to encourage new growth. If a plant is overrun with insects, you may wish to cut it down to the soil line to help get rid of the pests. If the plant roots are healthy, Swiss chard will regrow after cutting. Propagating Swiss chard is commonly started from seeds or nursery seedlings, but it can be propagated from cuttings. Cuttings should be taken from the oldest leaves. Use gardening shears to cut a mature stem from the bottom of the plant. Do not propagate from the plant's center. Trim the bottom of the stem at a 45º angle leaving it 4 to 6 inches long. Dip the cut end in rooting hormone and insert it into a small container with drainage holes filled with moist soilless potting mix. Keep the potting mix moist. Roots should develop in a few weeks. If you gently tug on the stem and feel resistance, the Swiss chard is ready to transplant. Overwintering Swiss chard is cold-tolerant and will continue to grow in the garden through frosts until temperatures drop to the mid-20s Fahrenheit. At that point, since the vegetable is an annual it is best to allow the plants to die and plant again in the spring. Common Pests & Plant Diseases Swiss chard leaves can be affected by Cercospora leaf spot, causing older infected leaves to yellow and die. This fungal disease usually occurs when conditions are warm and humid. To help prevent the spread, you can use a fungicide or remove infected leaves and pull up and discard badly infected plants. Use dense organic mulch around plants and water only at the base of plants, not overhead. Leafminers will feed on the surface of Swiss chard leaves. They are considered minor pests, but heavy infestations can reduce leaf quality and yield. Remove infested leaves and plants to destroy them as a primary control. Root-knot nematodes are small colorless roundworms that infect plant roots. While there is no chemical treatment, if a plant is wilting, pull it up and inspect the roots. If they look "knotty" discard the plant. Rotate Swiss chard to another area of the garden next year and incorporate compost to help suppress root-knot nematode populations.

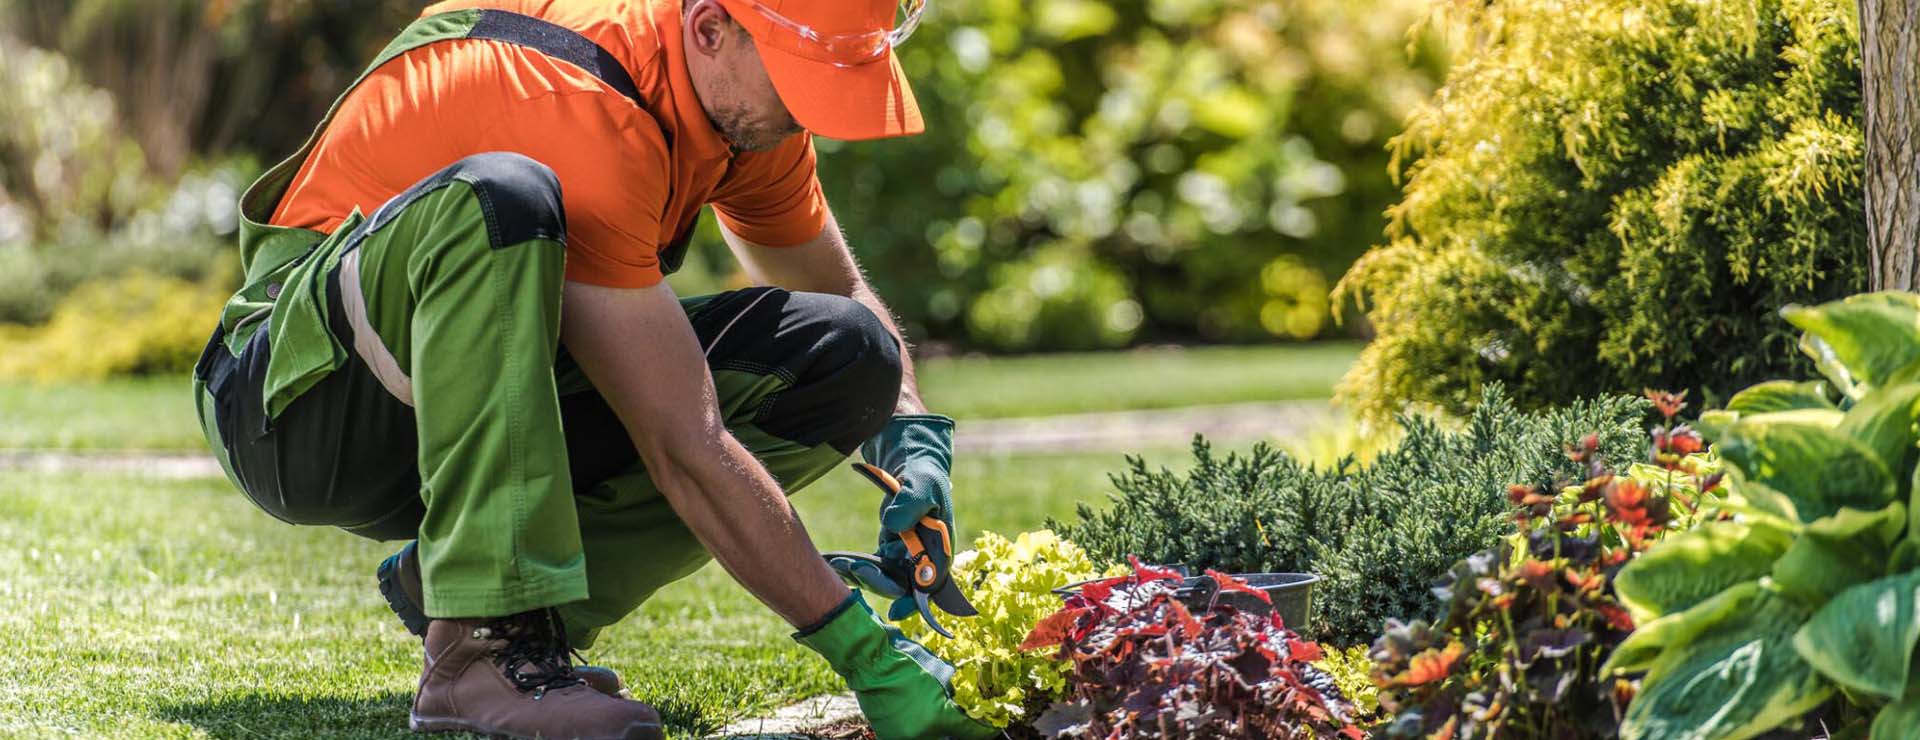
Get inspiring landscaping ideas and tips on plant selection, hardscaping, and seasonal upkeep.Landscaping gives your yard a polished look by adding practical elements such as paths and helps you solve problems such as poor drainage. No matter the size and shape of your yard, this is where you can find all landscaping ideas and strategies you'll need.

My husband and son are duck hunters, and I am always trying to find new ways to cook the meat. I created this slow-cooker duck breast dish a couple of years ago, and it instantly became a family favorite. The flavors of the herbs really compliment the duck. —Sherri Melotik, Oak Creek, Wisconsin

This Pasta and Bean Soup recipe is hearty, delicious, and convenient. Spend 10 minutes building your flavors on the stove, then let the slow cooker do the rest of the work.

Straight from the streets of rural Mexico, this Mexican Corn Salad (known as esquites by the natives) is super simple to make and so delicious. If you're looking for the real deal, look no further.
What We're Loving Right Now